| 编辑推荐: |
本文主要对Python+Selenium的自动化测试环境搭建做一个详细的解析,希望能够帮到所有需要的人
。
本文来自于知乎 ,由火龙果软件Alice编辑、推荐。 |
|
首先要说明的是:本次Web自动化环境的搭建教程是基于Selenium+Python+Unittest框架,感兴趣的朋友可以看下去,开始你的web自动化测试之旅
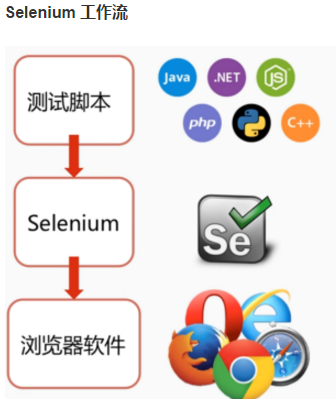
以上是selenium工作流的示意图。你要想玩转selenium首先你要选择合适的编程语言,来开发测试脚本,本次分享我们选择Python,这个在当今互联网发展中非常流行的脚本语言,搭配收费调试工具PyChram;然后我们需要选择正确的Selenium工具集,我们选用的是Selenium2.0,也就是Selenium+Webdriver;最后我们需要一款浏览器用于调试和执行,这里我们选择火狐,除了因为他在互联网技术发展中一直走在前列之外,也因为它对SeleniumFF的原生支持最为完善。
到这里我们环境准备需要的工具基本齐全了。
首先我们来准备firefox火狐浏览器环境。
下载地址:http://www.firefox.com.cn/
Firfox是mozilla基金会旗下的开源项目,久经考验啊

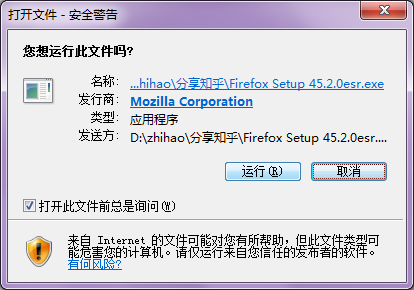
1.进入火狐浏览器官方网站

2.点击下载完整版火狐浏览器(根据自己系统选择32位还是64位)
3.等待下载完成
4.双击运行该程序
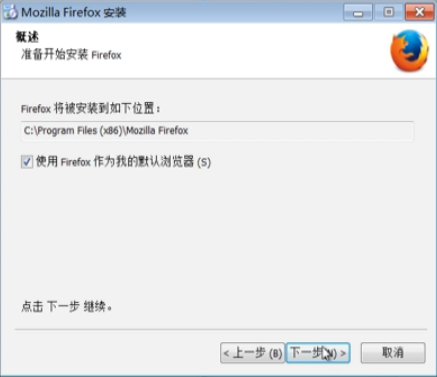
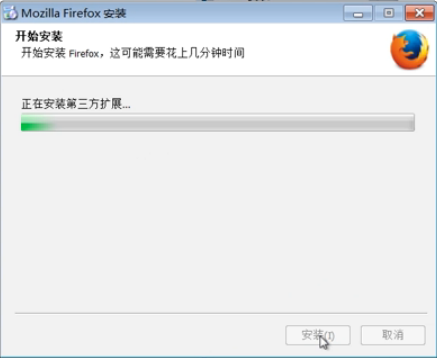
5.使用默认的配置完成安装(一路下一步就好啦~)
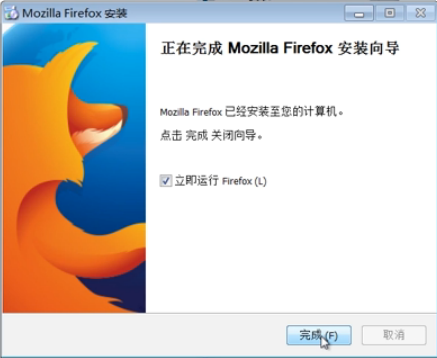
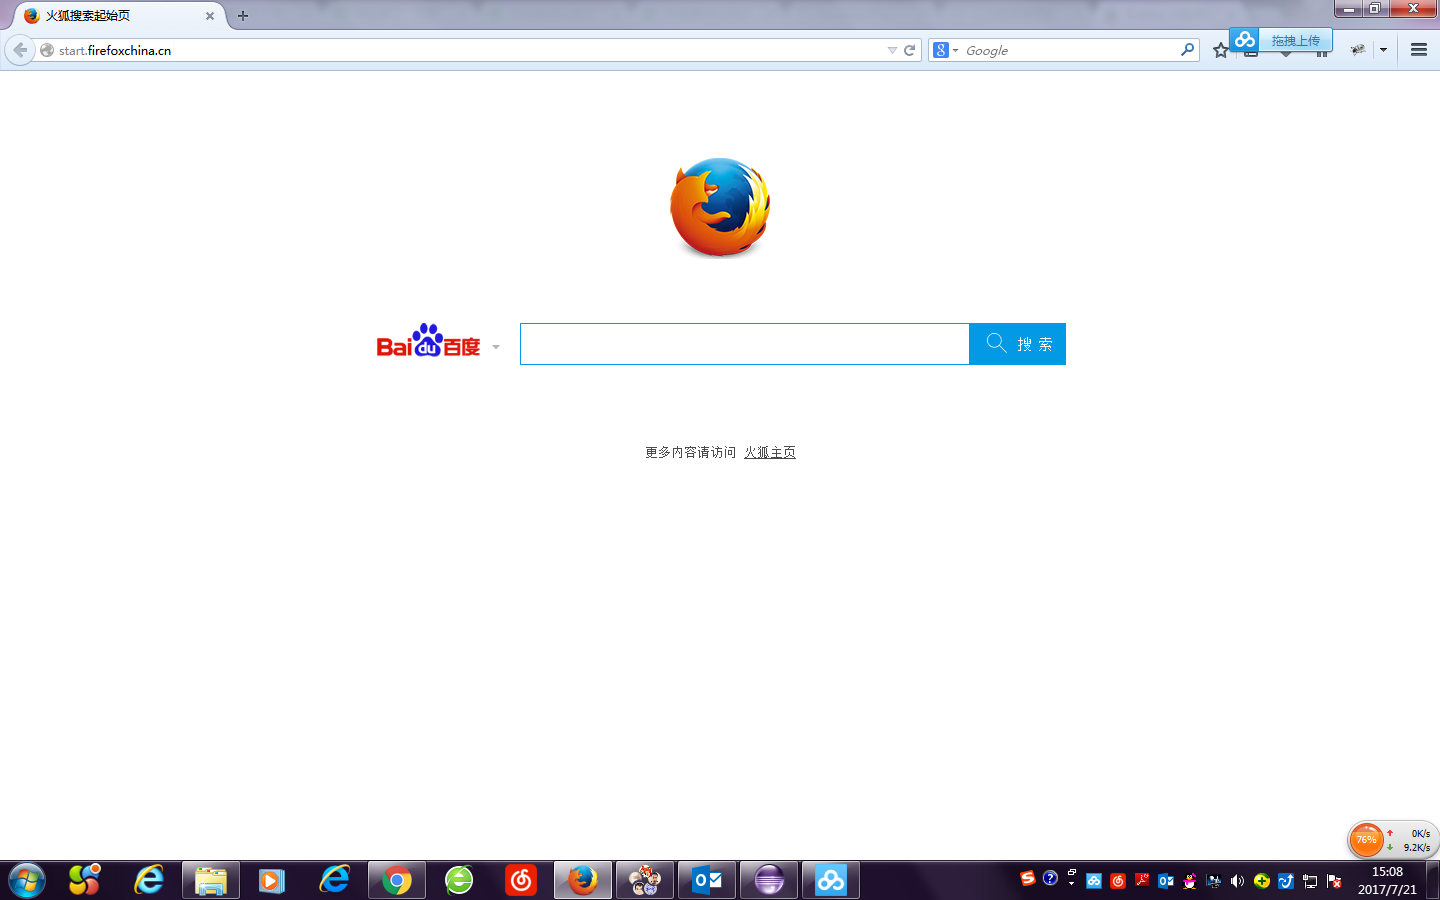
6.完成安装可以看到火狐浏览器自动启动,安装成功~
接下来让我们来准备Python环境。
下载Phtyon地址https://www.python.org/getit/
进入Python下载页面(如下图),你可以自由地选择Python的版本,但是我还是建议大家选择Python2.7.13,因为这个版本是目前最稳定的Python版本。当让你也可以选择Python3,这是Python最新的版本。各有优劣,自己选择。

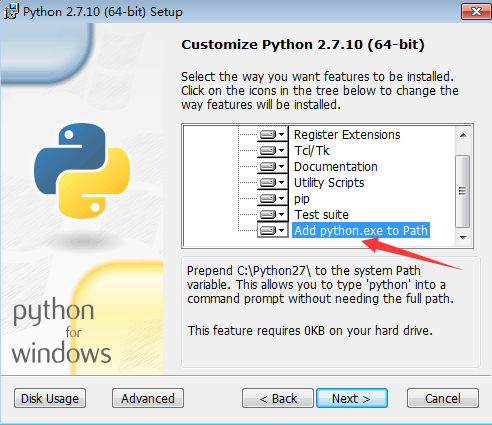
Python版本下载完成后,启动安装,一路Next就好。要注意,安装的时候注意选择“Add python.exe
to Path”,否则,执行python命令会出现“‘python’不是内部或外部命令..”的报错。如下图:
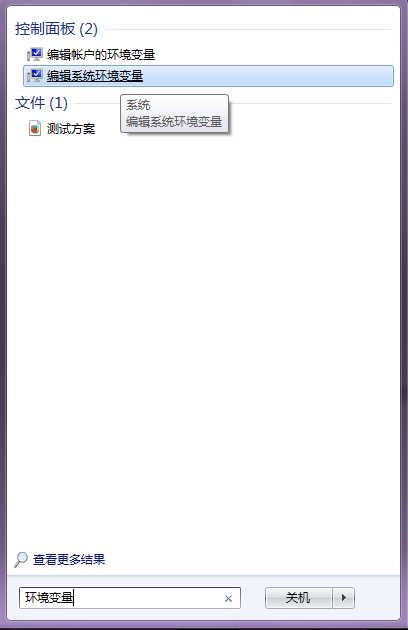
当然如果你安装时忘了这步操作,也可以载在安装完成后手动配置环境变量:
在开始菜单栏中输入“环境变量”,选择【编辑系统环境变量】
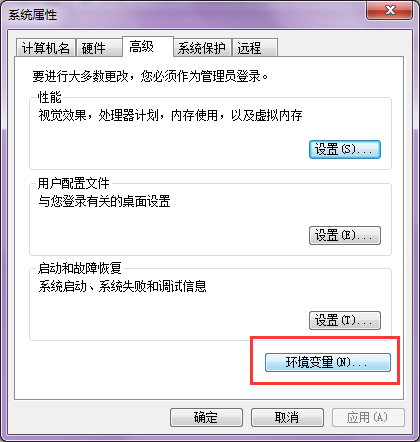
点击【环境变量】
找到名为Path的变量名,点击【编辑】
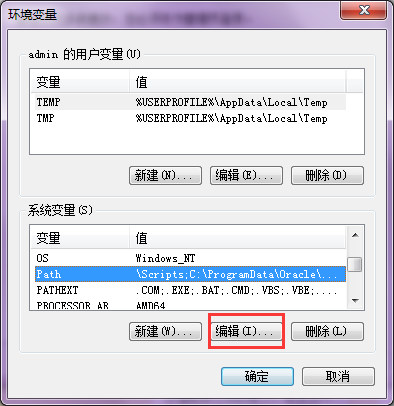
将Path的安装目录添加到其中
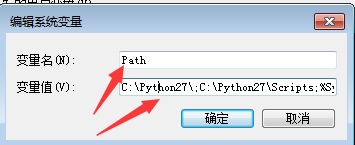
依次点击【确定】
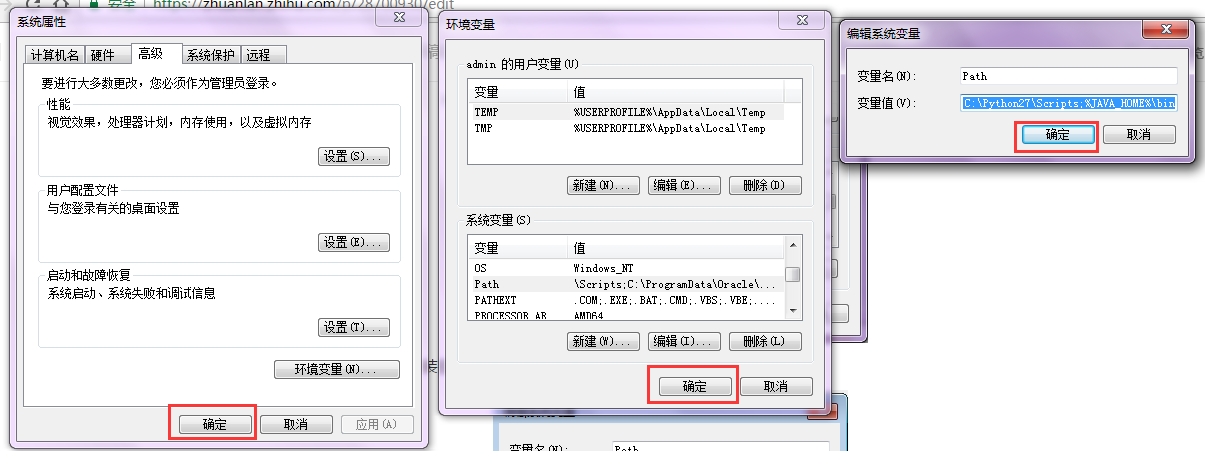
手动添加环境变量就完成了。
接下来验证下Python是否安装成功
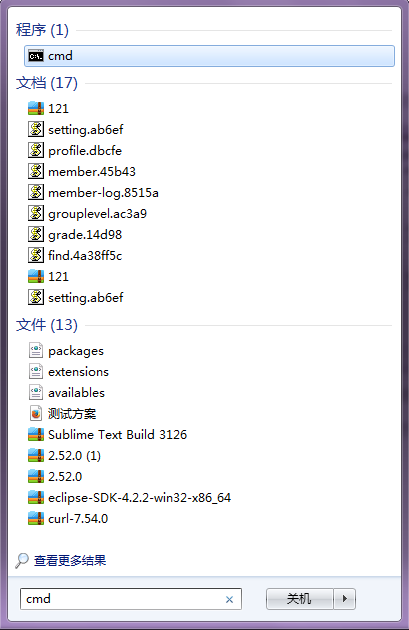
在开始菜单栏输入cmd,选择cmd程序
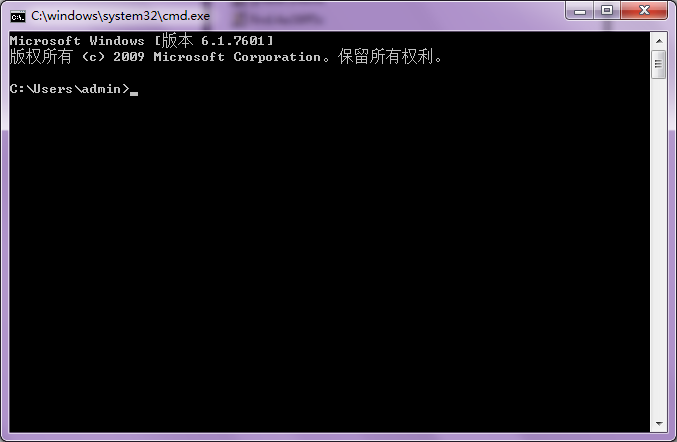
在命令行输入Python,并回车。
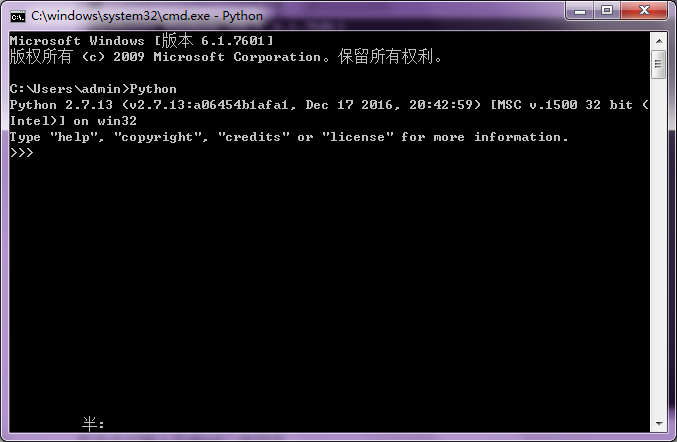
出现如上图所示,Python安装成功,环境变量配置成功。
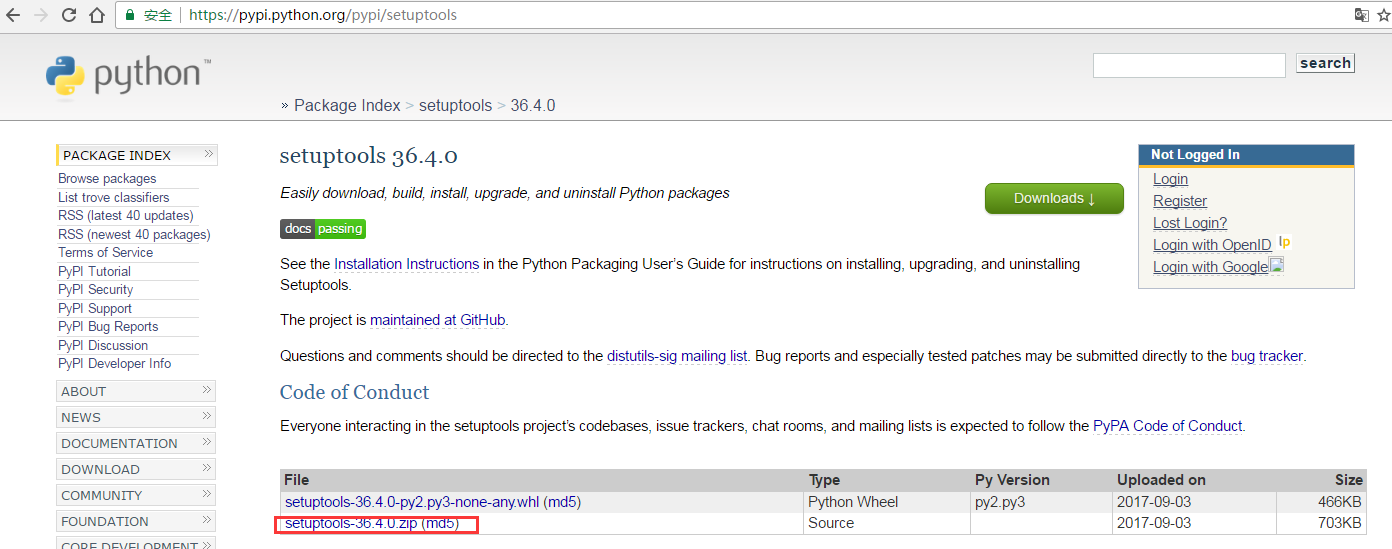
接下来安装Python SetupTools
进入下载地址setuptools 36.2.7,选择如下文件下载
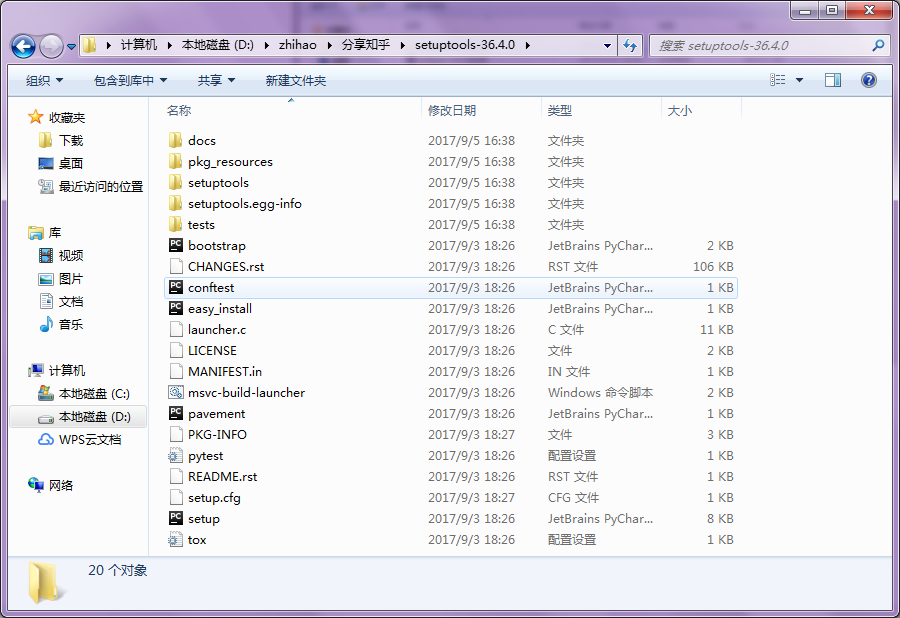
下载完成后,解压下载的压缩包(如下图)

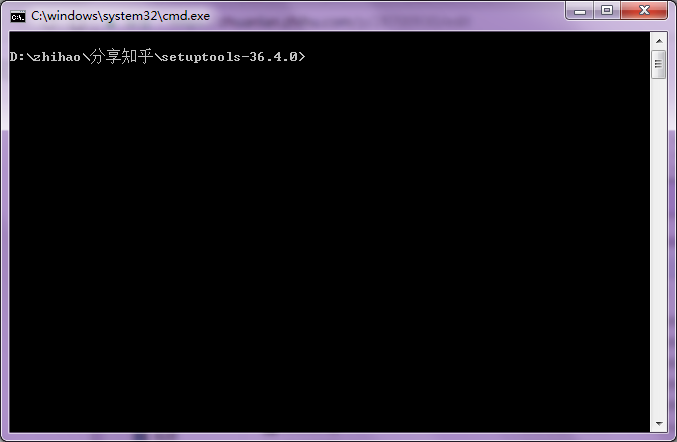
然后进入解压后的setuptools-36.4.0文件夹
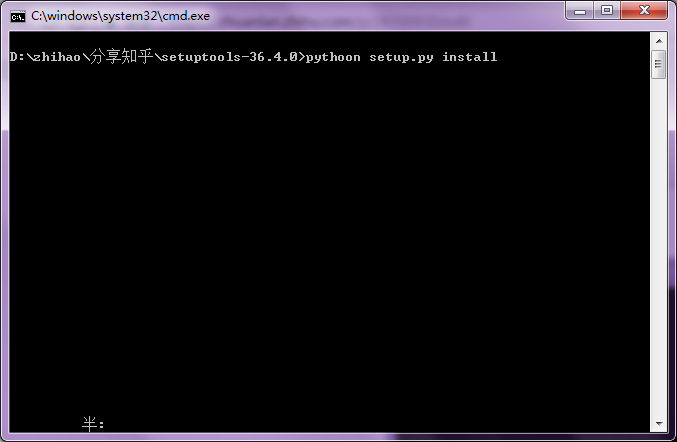
在该文件夹中,按住shift键后,在文件夹空白处点击鼠标右键,选择:在此处打开命令窗(如图)
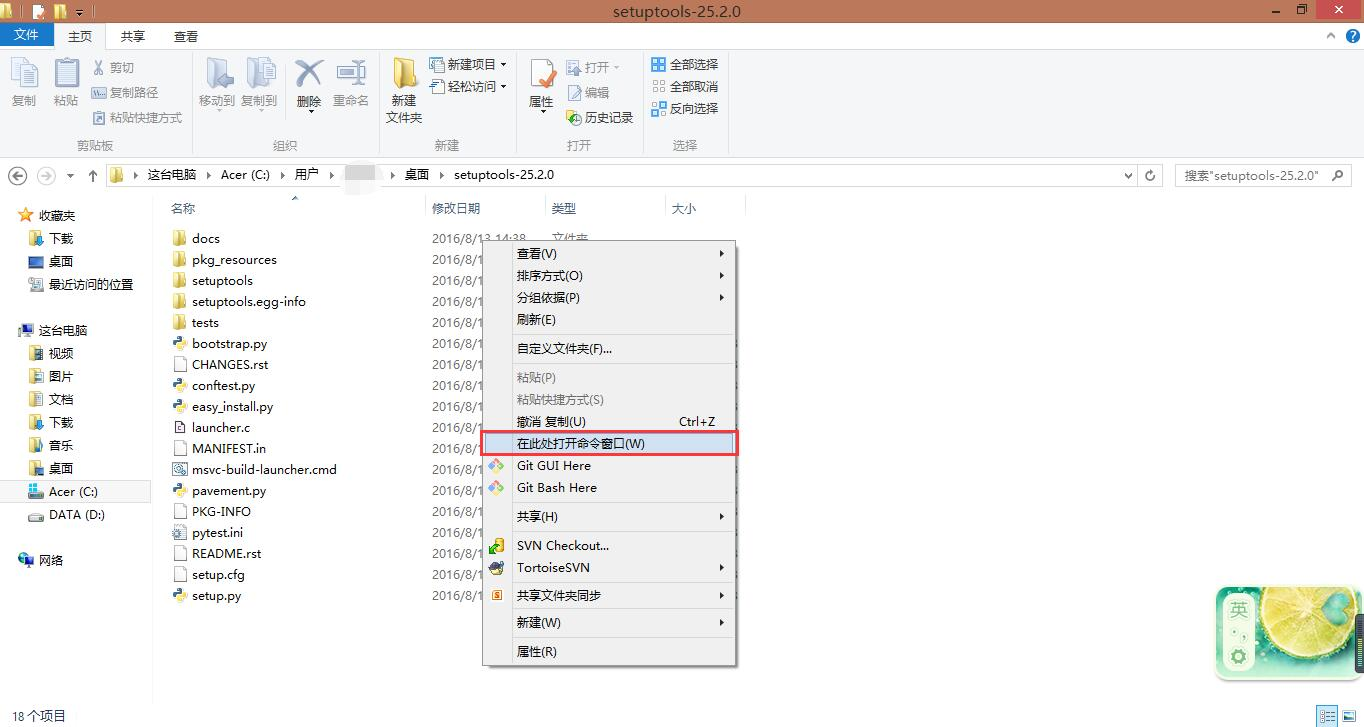
出现如图所示窗口
输入python setup.py install 并点击回车
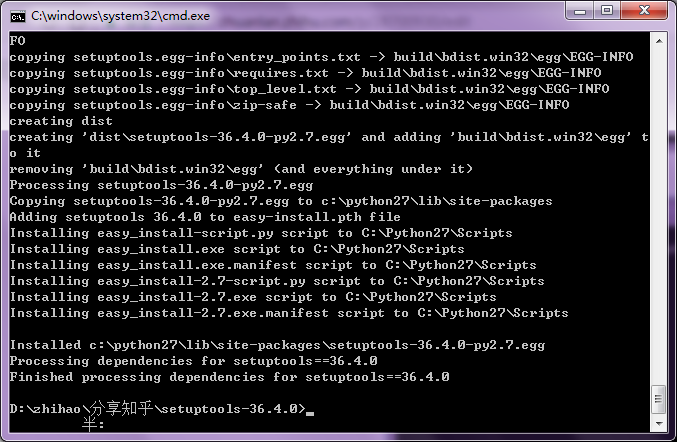
出现下图所示提示,python setuptools安装成功
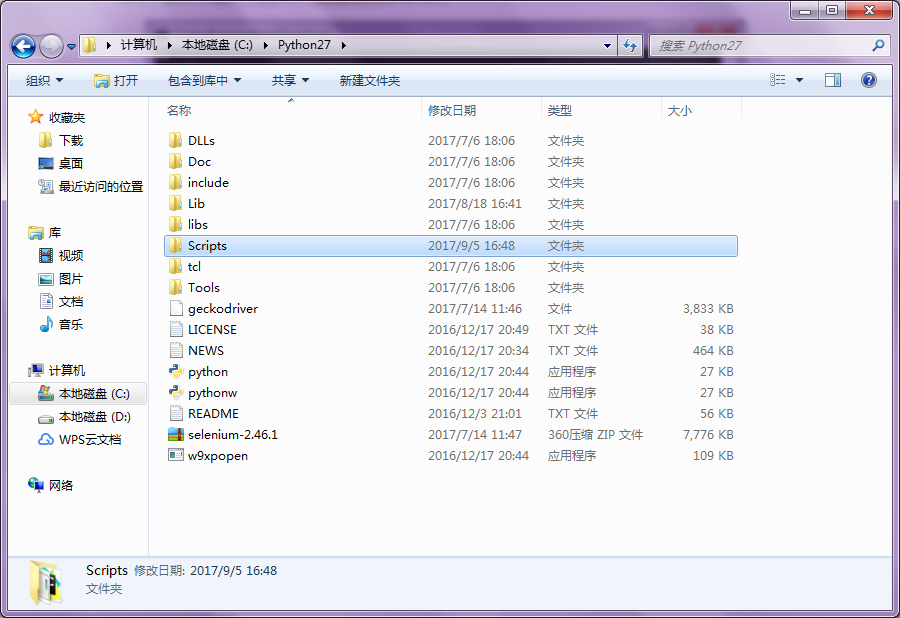
当安装SetupTools之后,就可以在python安装目录下看到Script目录,如图;
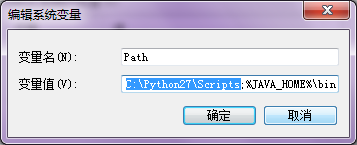
同样在变量中加入 path:C:\Python27\Scripts,如图:
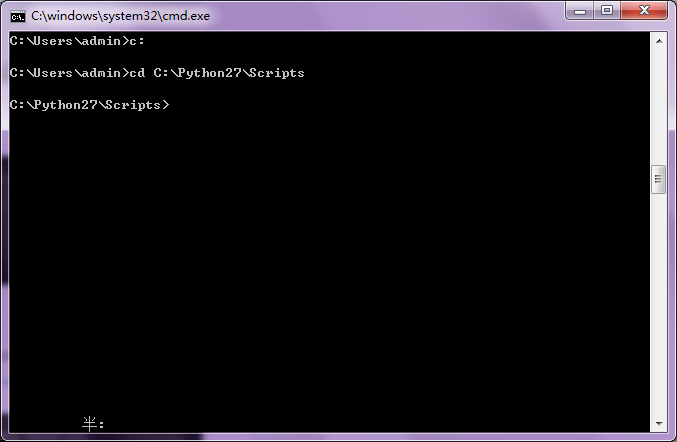
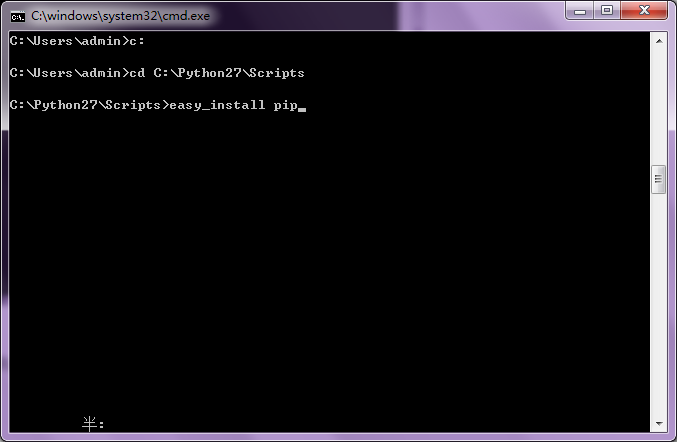
接下来安装pip,打开cmd命令行(上面有说怎么打开哦~),将目录切换到C:\Python27\Scripts下
输入命令“easy_install pip“安装pip;
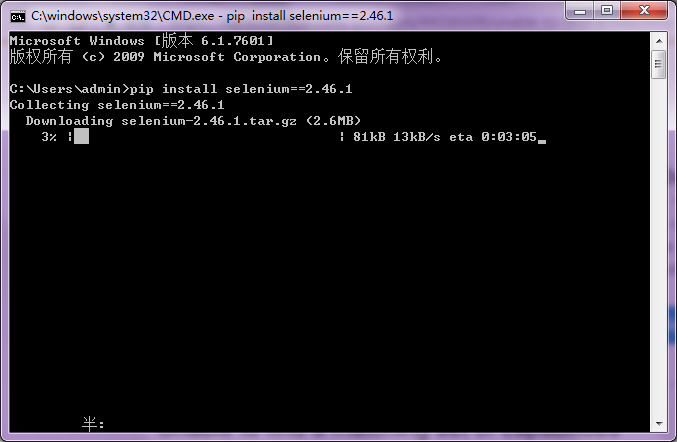
很快安装成功后,继续输入“pip install -U selenium”安装2.46.1版本selenium
安装成功

到了这里我们基础环境就已经搭建完成了。但是我们还是要验证下是否搭建成功,别急跟我一步步来。
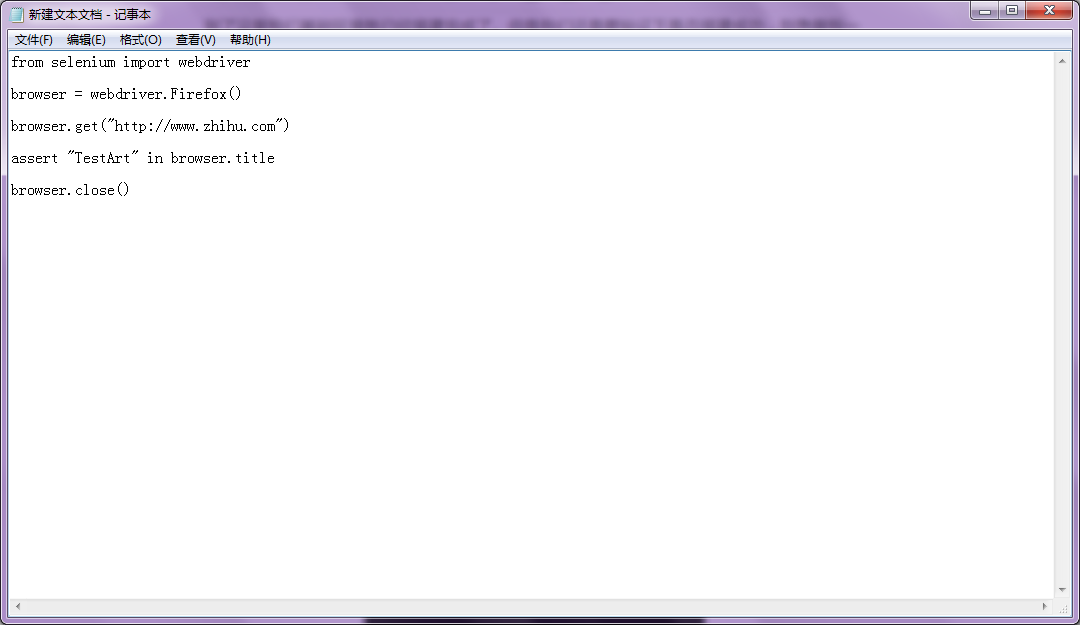
请复制以下代码:
from selenium
import webdriver
from selenium.webdriver.common.keys import Keys
#需要引入keys包
import time
driver = webdriver.Firefox()
driver.get("http://www.baidu.com")
time.sleep(5)
driver.find_element_by_id("kw").send_keys("TestArt
zhihuzhuanlan")
time.sleep(3)
driver.find_element_by_id("su").send_keys(Keys.ENTER)
time.sleep(3)
driver.close() |
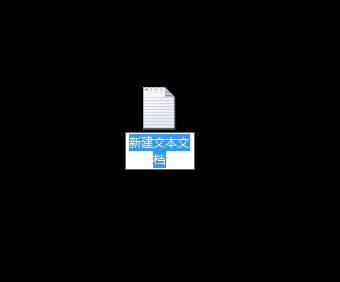
在桌面新建文本文档,并粘贴复制的代码
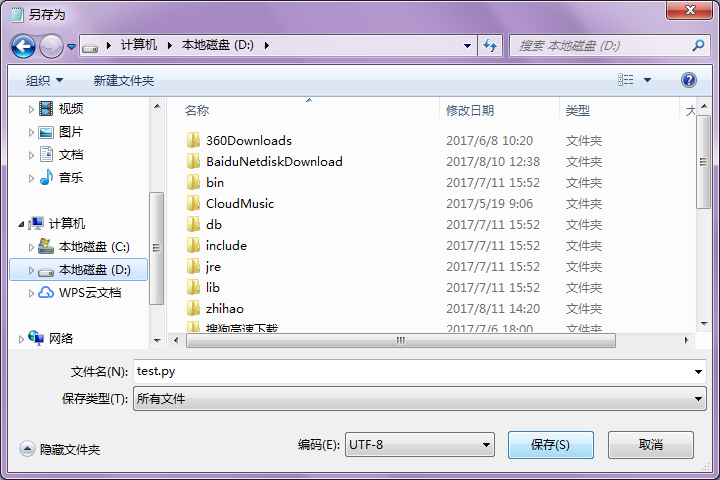
并将该文件另存为test.py(仔细看图哦~),并放到D盘中
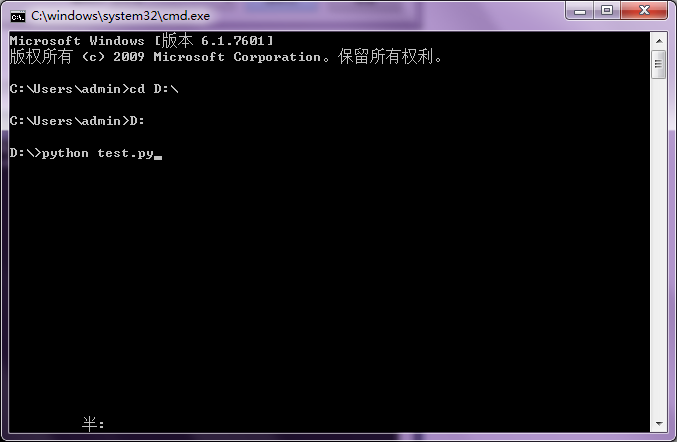
打开CMD命令行窗口,切换目录到D盘
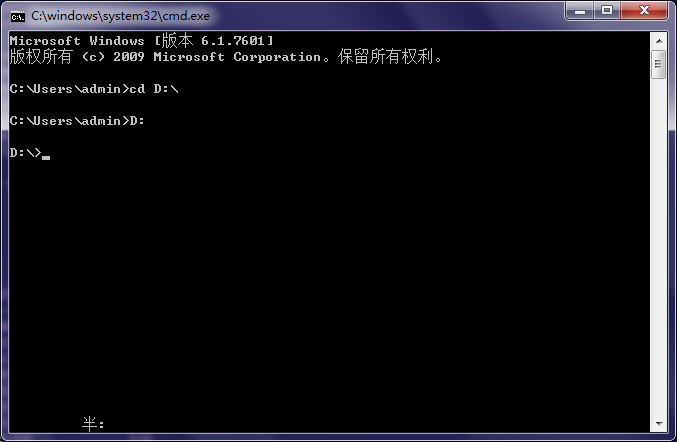
输入“python test.py”,点击回车
稍等几秒钟你有没有看到什么神奇的事情呢!!!
是的,简单的自动化测试已经成功了。
|