| 摘要:iOS9 Day-by-Day是作者Chris Grant写的系列博客,覆盖了iOS开发者必须知道的关于iOS 9的新技术与API,并且还进行了实际操作演练。本文为第9篇,详细介绍了iOS 9中,UIKit Dynamics的一些改进。
iOS9 Day-by-Day是作者Chris Grant写的系列博客,覆盖了iOS开发者必须知道的关于iOS 9的新技术与API,并且还进行了实际操作演练,每篇文章中相关的代码Chris都会将其上传至GitHub上。在Search APIs、UI Testing、Storyboard References、UIStackView、Xcode Code Coverage、Multitasking、Contacts Framework、Apple Pay之后,作者写到了第九篇——UIKit Dynamics。译文如下:
UIKit Dynamics是在iOS 7中首次被介绍,可以让开发者通过简单的方式,给应用界面添加模拟物理世界的交互动画。iOS 9中又加入了一些大的改进,我们将在本文中查看一些。
Non-Rectangular Collision Bounds
在iOS 9之前,UIKitDynamics的collision bounds只能是长方形。这让一些并非是完美的长方形的碰撞效果看起来有些古怪。iOS 9中支持三种collision bounds分别是Rectangle(长方形)、Ellipse(椭圆形)和Path(路径)。Path可以是任意路径,只要是逆时针的,并且不是交叉在一起的。一个警告是,path必须是凸面的不能使凹面的。
为了提供一个自定义的collision bounds ,你可以子定义一个UIView的子类。
class Ellipse: UIView {
    override var collisionBoundsType:
    UIDynamicItemCollisionBoundsType {
        return .Ellipse
    }
}
|
如果你有个自定义的视图有一个自定义的bounds,你同样可以这么做。
UIFieldBehavior
在iOS 9之前,只有一种gravity behaviour(重力感应)类型的behaviour。开发者也无法扩展或者自定义其他类型。
现在,UIKit Dynamics包含了更多的behaviours:
- Linear Gravity
-
Radial Gravity
-
Noise
-
Custom
这些behaviours都有一些属性可以用来设置不同的效果,并且可以简单的添加和使用。
Building a UIFieldBehavior & Non-Rectangular Collision Bounds Example
我们来用创建一个例子,把这两个特性都融合进来。它有几个视图(一个椭圆和一个正方形)添加了一些碰撞逻辑和一些噪音的UIFieldBehavior。
要使用UIKit Dynamics,首先要创建一个UIDynamicAnimator。在viewDidLoad方法中,为你的变量创建一个引用。
// Set up a UIDynamicAnimator on the view.
animator = UIDynamicAnimator(referenceView: view)
|
现在你需要添加一些视图,它们将会动起来。
// Add two views to the view
let square = UIView(frame: CGRect
(x: 0, y: 0, width: 100, height: 100))
square.backgroundColor = .blueColor()
view.addSubview(square)

let ellipse = Ellipse(frame: CGRect
(x: 0, y: 100, width: 100, height: 100))
ellipse.backgroundColor = .yellowColor()
ellipse.layer.cornerRadius = 50
view.addSubview(ellipse)
|
这是我们给view添加的两个基本的behaviors。
let items = [square, ellipse]

// Create some gravity so the items always fall towards the bottom.
let gravity = UIGravityBehavior(items: items)
animator.addBehavior(gravity)
|
第一个behaviors,我们添加了一个重力感应模型。
let noiseField:UIFieldBehavior =
UIFieldBehavior.noiseFieldWithSmoothness(1.0, animationSpeed: 0.5)
// Set up the noise field
noiseField.addItem(square)
noiseField.addItem(ellipse)
noiseField.strength = 0.5
animator.addBehavior(noiseField)
|
接下来我们添加了一个UIFieldBehavior。使用noiseFieldWithSmoothness方法进行了初始化。我们把方形和椭圆形添加到了behavior中,然后给animator添加了field behavior。
// Don't let objects overlap each other
- set up a collide behaviour
let collision = UICollisionBehavior(items: items)
collision.setTranslatesReferenceBoundsIntoBoundaryWithInsets
(UIEdgeInsets(top: 20, left: 5, bottom: 5, right: 5))
animator.addBehavior(collision)
|
我们接着创建了一个UICollisionBehavior。这会阻止两个元素在碰撞时叠加,并增加了物理模型的动画效果。我们使用setTranslatesReferenceBoundsIntoBoundaryWithInsets,给视图添加了一个边缘的设置。如果不设置这个盒子的话,刚才的重力感应动画会把方形和椭圆形的视图掉进屏幕以下,而回不来。(我们就看不到碰撞了)
说到重力感应,我们需要确保他的方向始终是朝下的,也就是实际的物理世界中的方向。为了做到这点,我们需要使用 CoreMotion framework。创建一个CMMotionManager 变量。
let manager:CMMotionManager = CMMotionManager()
|
我们设置一个变量作为类的属性,是因为我们始终需要用到它。否则的话,CMMotionManager会因为被释放掉而无法更新。当我们发现设备的方向发生变化,为们设置重力感应模型的 gravityDirection属性来,让重力的方向始终向下。
// Used to alter the gravity so it always points down.
if manager.deviceMotionAvailable {
    manager.deviceMotionUpdateInterval = 0.1
    manager.startDeviceMotionUpdatesToQueue
    (NSOperationQueue.mainQueue(), withHandler:{
        deviceManager, error in
        gravity.gravityDirection = CGVector(dx:
        deviceManager!.gravity.x, dy: -deviceManager!.gravity.y)
    })
}
|
注意,我们这个例子只支持了portrait一种模式,如果你希望支持全部的方向的话,你可以自己添加一些计算代码。
当你打开应用时,你可以看到如下图一样的画面。
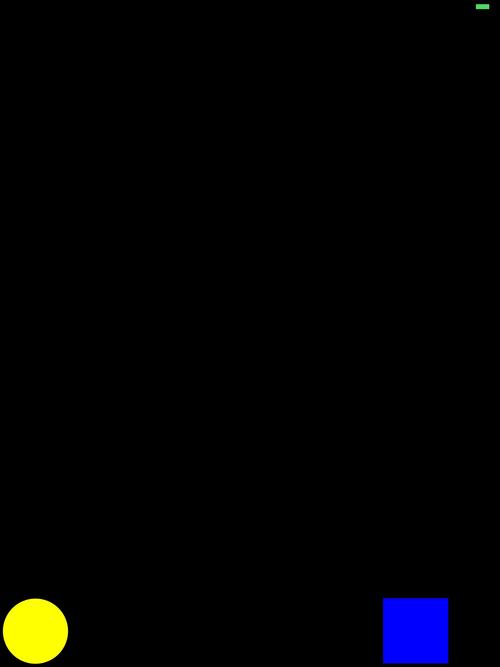
方形视图围绕着椭圆移动,但你无法看出什么门道。WWDC的session 229,介绍了一个方法,可以可视化的看到动画的效果。你需要添加一个桥接头(如果是用swift写的项目),添加以下代码。
@import UIKit;
#if DEBUG
@interface UIDynamicAnimator (AAPLDebugInterfaceOnly)
/// Use this property for debug purposes when testing.
@property (nonatomic, getter=isDebugEnabled)
BOOL debugEnabled;
@end
#endif
|
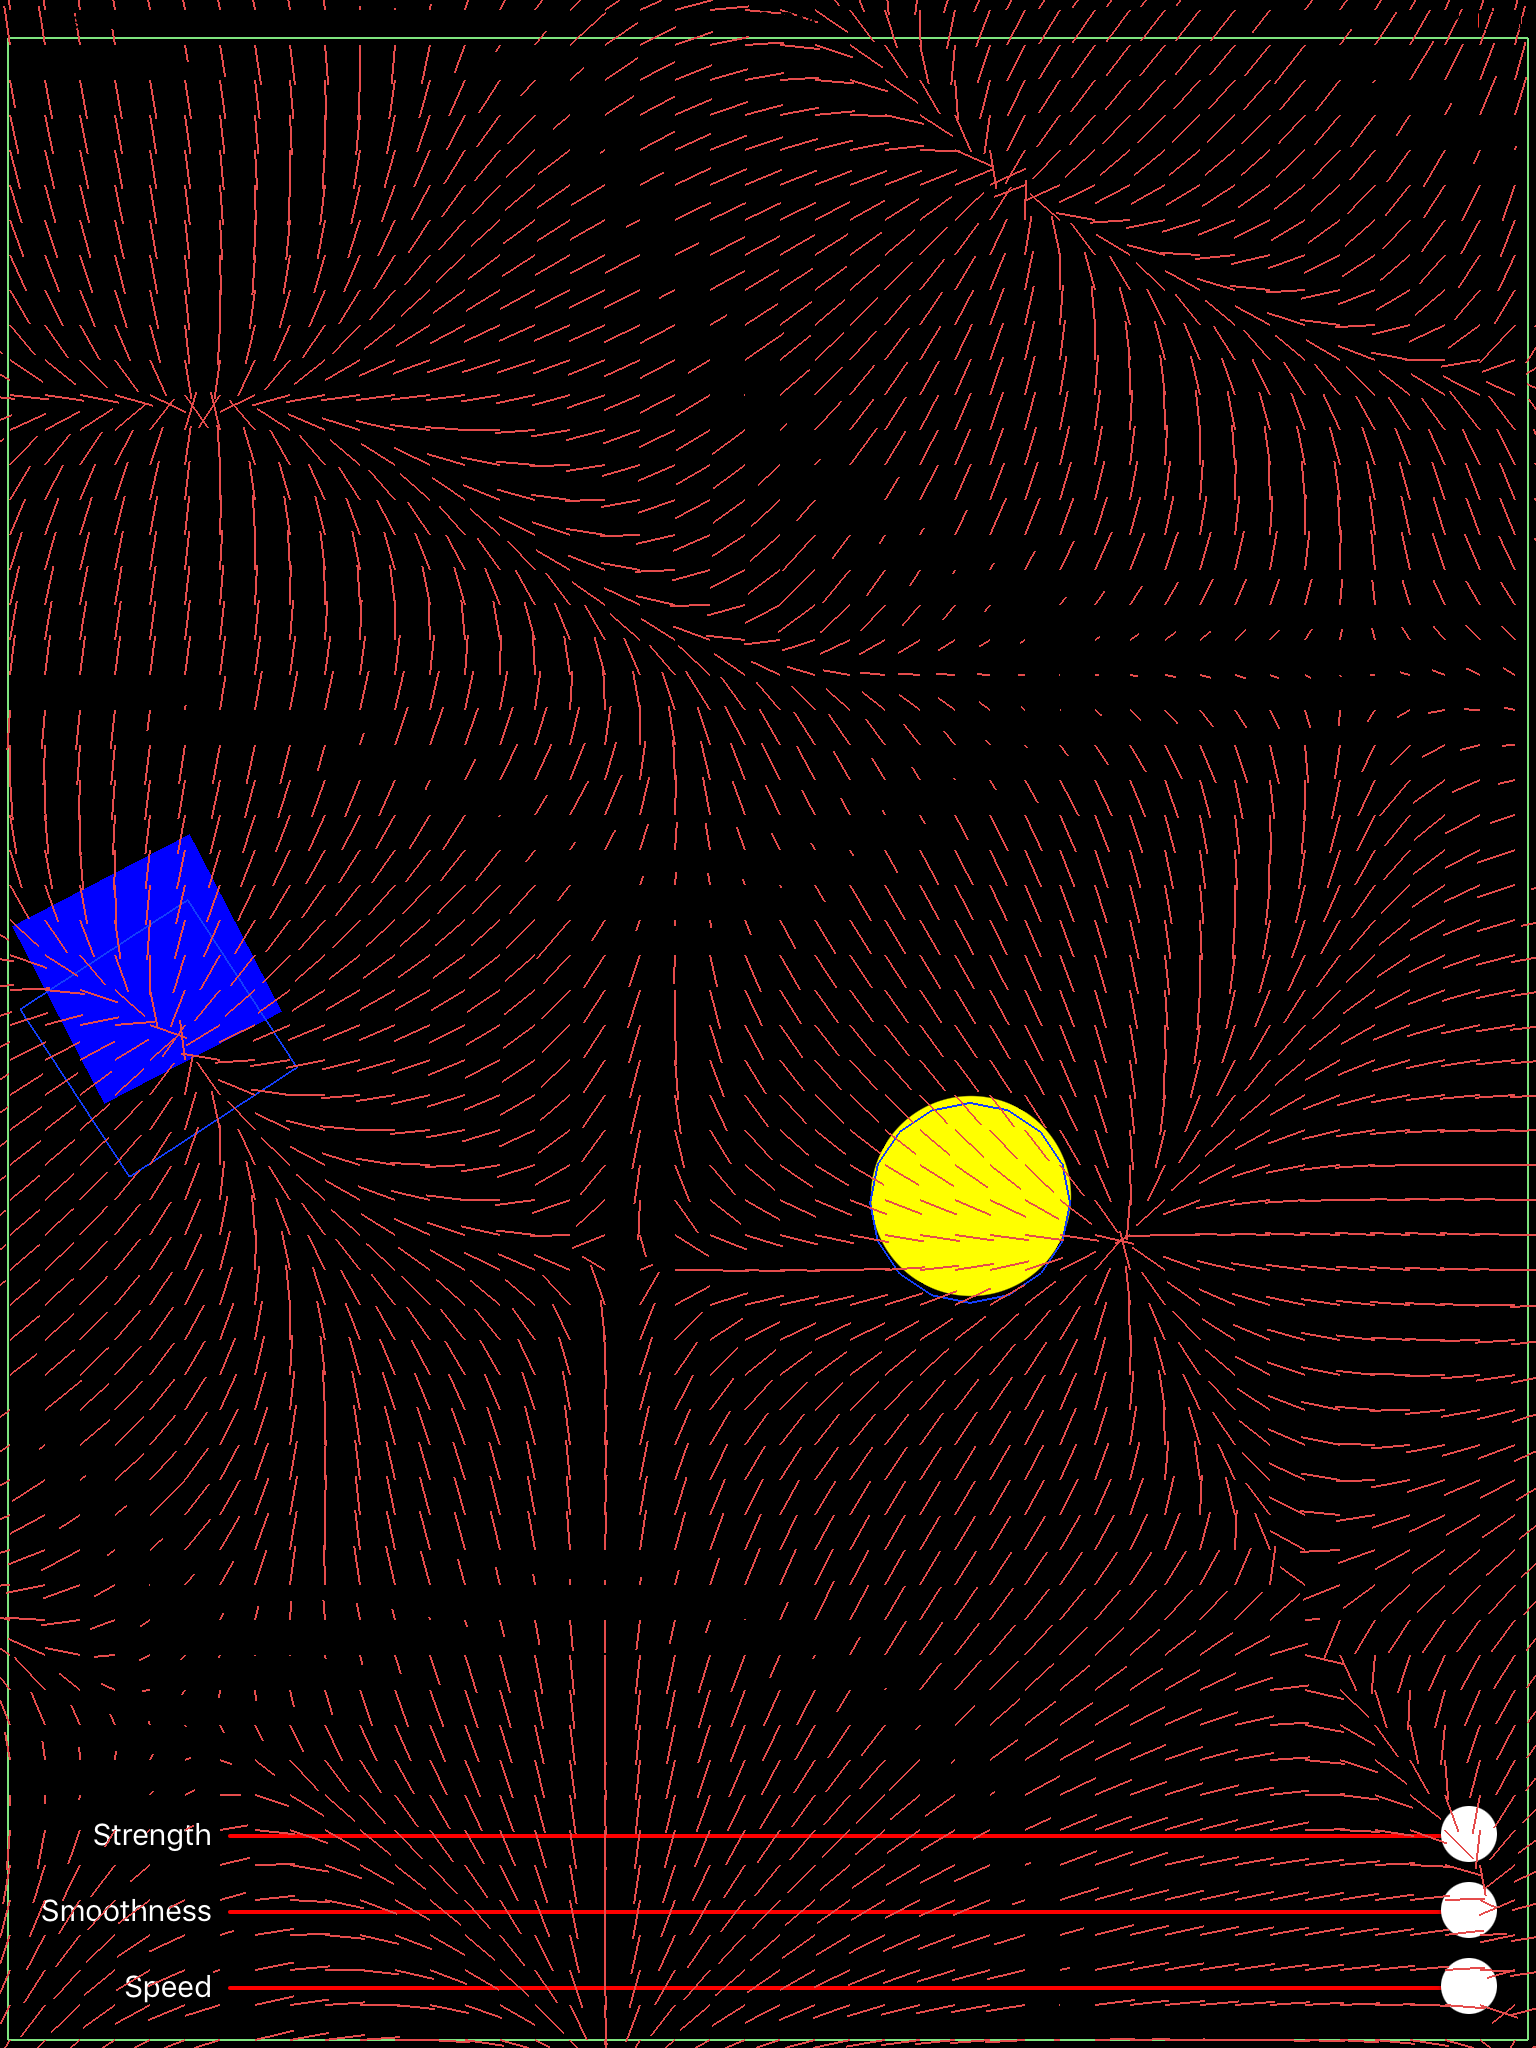
这会暴露一些私有API,让UIDynamicAnimator把debug模式打开。这能让你观察到空间扭曲的情况。在ViewController类中,把animator的debugEnable属性设置为true。
animator.debugEnabled = true
// Private API. See the bridging header.
|
现在,当你打开应用时,你就能够看到UIFieldBehavior提供的空间扭曲了。
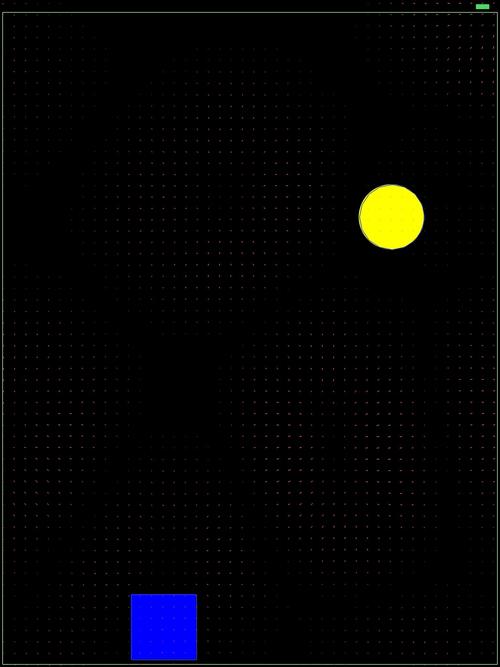
你同样能够看到视图碰撞时,围绕在方形和圆形上的的轮廓线。你还可以添加另外一些属性,它们并非API 的标注属性,但是可以在lldb中使用。比如debugInterval和debugAnimationSpeed,当你需要debug你的动画时,它们会非常有帮助。
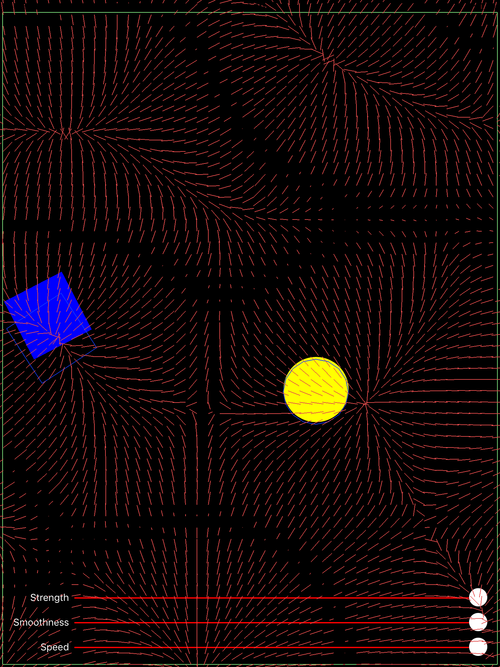
我们可以看到field起了作用,可以清楚的看到碰撞的效果。如果我们想tweak更多属性,可以给对象设置具体的数值,然后重启应用看看它的变化。我们给页面添加三个UISlider控制组件,分别控制力量、平滑度和速度,力量的组件数值范围在0-25,其他两个都是0-1。
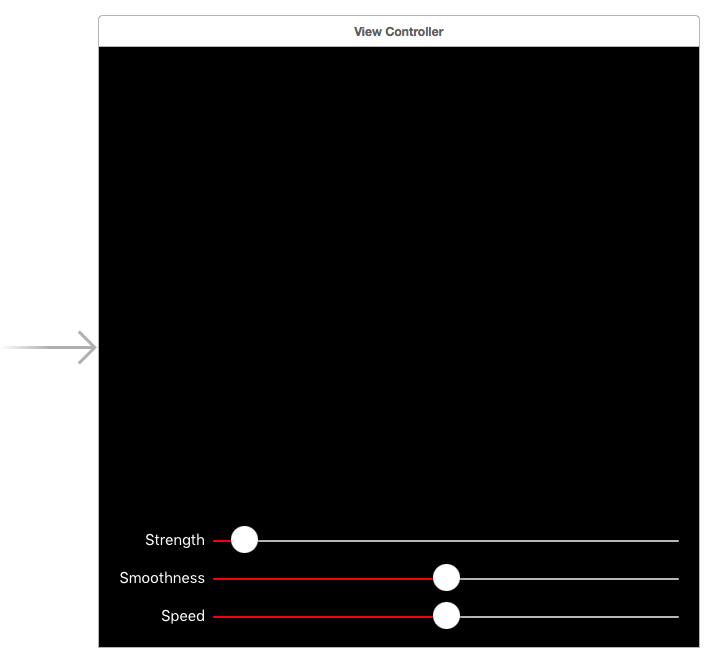
当你在Interface Builder中创建好,拖拽三个动作事件到ViewController类,然后按下面设置,更新它们的属性。
@IBAction func smoothnessValueChanged(sender: UISlider) {
    noiseField.smoothness = CGFloat(sender.value)
}
@IBAction func speedValueChanged(sender: UISlider) {
    noiseField.animationSpeed = CGFloat(sender.value)
}
@IBAction func strengthValueChanged(sender: UISlider) {
    noiseField.strength = CGFloat(sender.value)
}
|
现在,运行应用。你可以通过控制条来设置属性的具体值,以观察动画的实际效果。
希望这些能够让你快速理解UIKit Dynamics里UIFieldBehavior和non-rectangular collision bounds APIs是怎么工作和debug的。我推荐你在真实的设备(而不是模拟器)中查看效果,否则你看不出motion所带来的效果变化。 |

